
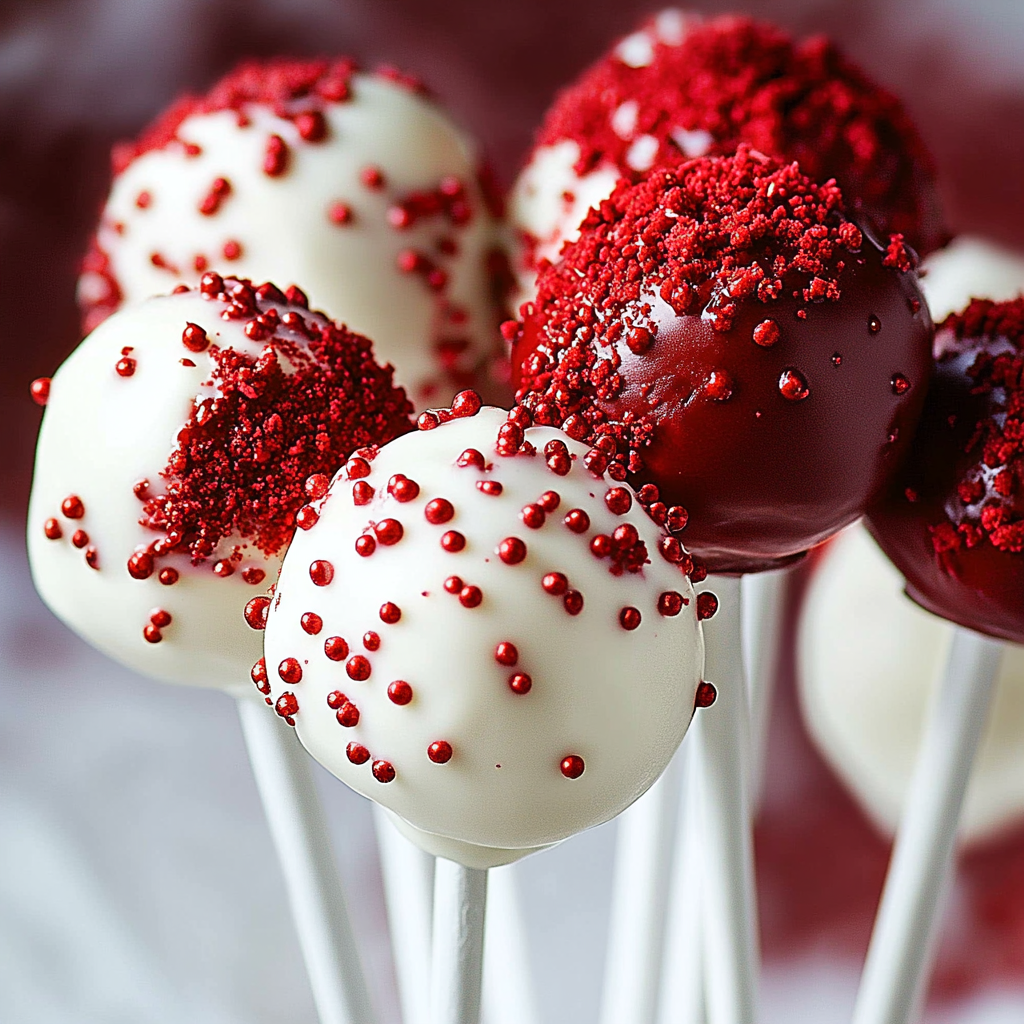
Red velvet cake pops are a delightful treat that combines the rich, velvety texture of classic red velvet cake with the fun, bite-sized appeal of cake pops. Imagine sinking your teeth into a soft, moist cake surrounded by a creamy coating, with just the right hint of cocoa and a bit of tanginess. These little bites of joy are perfect for any occasion—birthdays, holidays, or just because you want to relive your childhood one pop at a time.

The first time I made red velvet cake pops, my kitchen looked like a crime scene involving flour and sprinkles. My kids couldn’t resist stealing them before they even made it to the party. They’re not just visually stunning; these treats pack a flavor punch that’s sure to captivate anyone who takes a bite. Get ready for an explosion of flavor and fun!
Why You'll Love This Recipe
- These red velvet cake pops are simple to prepare and require minimal ingredients
- Their rich chocolate flavor combined with cream cheese frosting makes them irresistibly delicious
- The vibrant red color will catch everyone’s eye at any gathering
- Perfect for parties, gifts, or satisfying your sweet tooth!
I remember the first time I brought these cake pops to a family gathering; they vanished faster than I could say “red velvet.” Everyone raved about them!
Essential Ingredients
Here’s what you’ll need to make this delicious dish:
-
Red Velvet Cake Mix: Choose your favorite brand for convenience; it sets the foundation for flavor and texture.
-
Eggs: Use large eggs for better binding; they help create that perfect moistness.
-
Vegetable Oil: This adds richness; don’t skimp on this key ingredient.
-
Water: Use as directed on the box mix; it helps bring everything together smoothly.
-
Cream Cheese Frosting: This adds that signature tangy sweetness; store-bought works perfectly in a pinch!
-
Chocolate Coating: Choose dark or white chocolate depending on your preference; both provide great contrast to the red velvet.
-
Sprinkles (optional): Who doesn’t love sprinkles? They add color and make everything more festive!
The full ingredients list, including measurements, is provided in the recipe card directly below.
Let’s Make it together
Preheat and Prepare: Preheat your oven according to the instructions on your cake mix box. Grease and flour your baking pan so nothing sticks—nobody wants sad, broken cake pops.
Bake the Cake: Pour the prepared batter into the pan and bake according to package instructions until a toothpick comes out clean. Your kitchen should smell heavenly by now.
Crumble It Up!: Allow the baked cake to cool completely before crumbling it into fine pieces in a large bowl. The finer, the better—this is crucial for shaping those perfect pops.
Add Frosting and Mix Well: Mix in enough cream cheese frosting until the mixture holds together but isn’t too sticky. This is where magic happens—get ready for some serious taste!
Shape Your Pops: Roll tablespoon-sized amounts of mixture into balls and place them on a parchment-lined tray. Don’t forget to make them uniform; nobody likes lopsided pops!
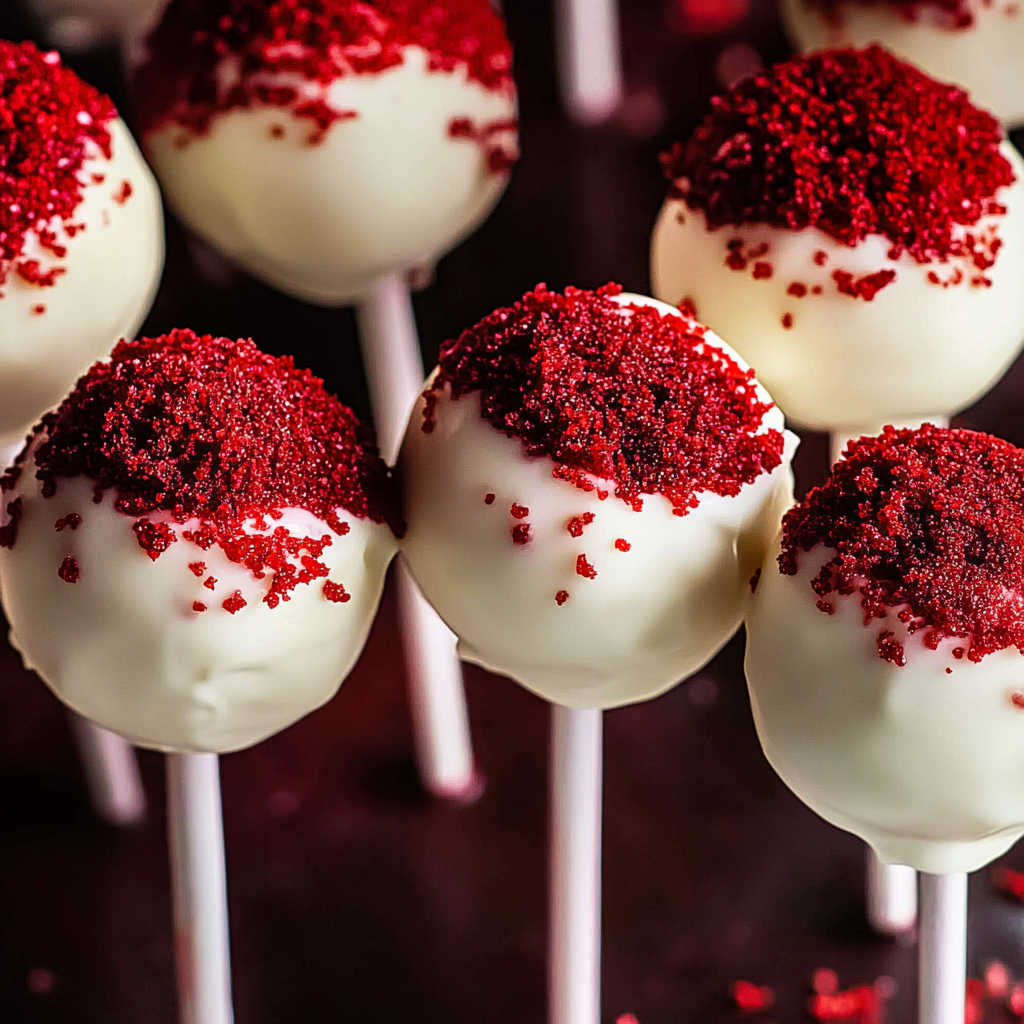
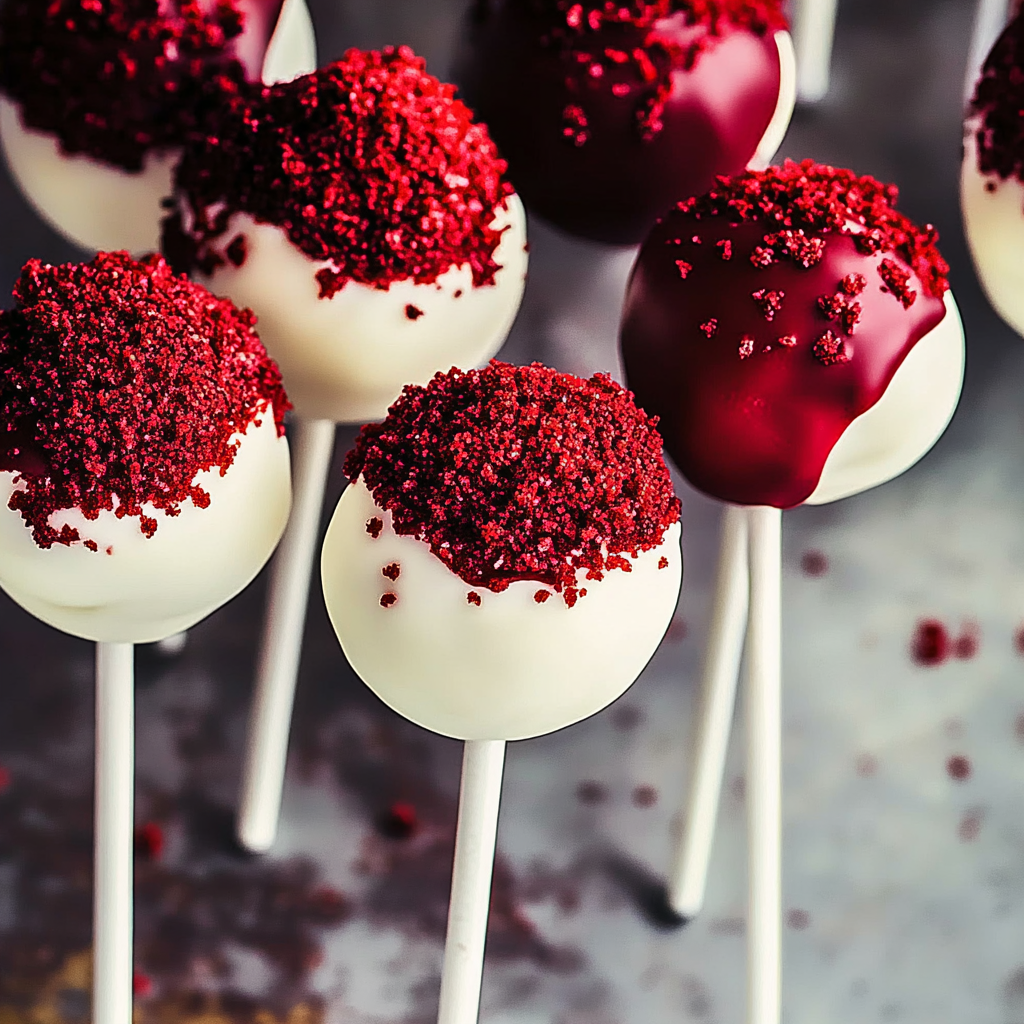
Dip and Decorate: Melt your chocolate coating according to package instructions. Dip each cake pop stick into chocolate first before inserting it into each ball; this helps keep them from falling apart when dipping.
Now you have it! Delicious red velvet cake pops ready to be enjoyed at any gathering—or just because they’re good enough to eat by yourself!
You Must Know
- Red velvet cake pops are a delightful treat, perfect for any occasion
- Their vibrant color and rich flavor make them a showstopper
- Plus, they’re easy to transport, making them an ideal party snack or gift
- The creamy coating adds a luscious finish that everyone loves
Perfecting the Cooking Process
Start by baking your red velvet cake according to the package instructions, then let it cool completely. Crumble the cake into fine pieces before mixing with cream cheese frosting for the best texture and flavor.
Add Your Touch
Feel free to swap out the cream cheese frosting for chocolate or vanilla frosting. You can also roll your cake pops in crushed nuts, sprinkles, or coconut to add some extra flair and texture.
Storing & Reheating
Store your red velvet cake pops in an airtight container in the fridge for up to a week. If you want to enjoy them warm, pop them in the microwave for 10-15 seconds.
Chef's Helpful Tips
- Ensure your cake is completely cooled before crumbling; this prevents sogginess
- Use a cookie scoop for uniform cake pop sizes to ensure even cooking
- Dip sticks into chocolate before inserting; this helps keep them from falling out during coating
Creating these red velvet cake pops always reminds me of my niece’s birthday party last year when we made them together. The joy on her face as she decorated each one was priceless!
FAQ
What is the best way to crumble the cake?
Use your hands or a fork to break it into fine pieces without clumps.
Can I freeze red velvet cake pops?
Yes, you can freeze them! Just wrap tightly in plastic wrap before storing.
What chocolate should I use for coating?
Use melting chocolates or candy melts for an easy and smooth coating experience.
Red Velvet Cake Pops
Red velvet cake pops are a scrumptious fusion of moist red velvet cake and creamy frosting, all wrapped in a delightful chocolate coating. These bite-sized treats are perfect for birthdays, holidays, or simply satisfying your sweet cravings. With their vibrant color and rich flavor, they are sure to be the star of any gathering.
- Prep Time: 30 minutes
- Cook Time: 30 minutes
- Total Time: 1 hour
- Yield: Approximately 24 cake pops 1x
- Category: Dessert
- Method: Baking
- Cuisine: American
Ingredients
- 1 box red velvet cake mix (15.25 oz)
- 3 large eggs
- 1/2 cup vegetable oil
- 1/2 cup water (as directed on the box)
- 1 cup cream cheese frosting (store-bought)
- 12 oz chocolate coating (dark or white)
- Sprinkles for decoration (optional)
Instructions
- Preheat oven according to cake mix instructions and grease a baking pan.
- Prepare the cake batter as per package directions and bake until a toothpick comes out clean.
- Let the cake cool completely, then crumble it into fine pieces in a bowl.
- Mix in cream cheese frosting until combined but not too sticky.
- Roll tablespoon-sized portions into balls and place on a parchment-lined tray.
- Melt the chocolate coating as instructed; dip sticks in chocolate before inserting them into each pop.
- Coat the pops in melted chocolate and add sprinkles if desired.
Nutrition
- Serving Size: 1 serving
- Calories: 150
- Sugar: 10g
- Sodium: 90mg
- Fat: 7g
- Saturated Fat: 3g
- Unsaturated Fat: 4g
- Trans Fat: 0g
- Carbohydrates: 19g
- Fiber: 1g
- Protein: 2g
- Cholesterol: 20mg
