
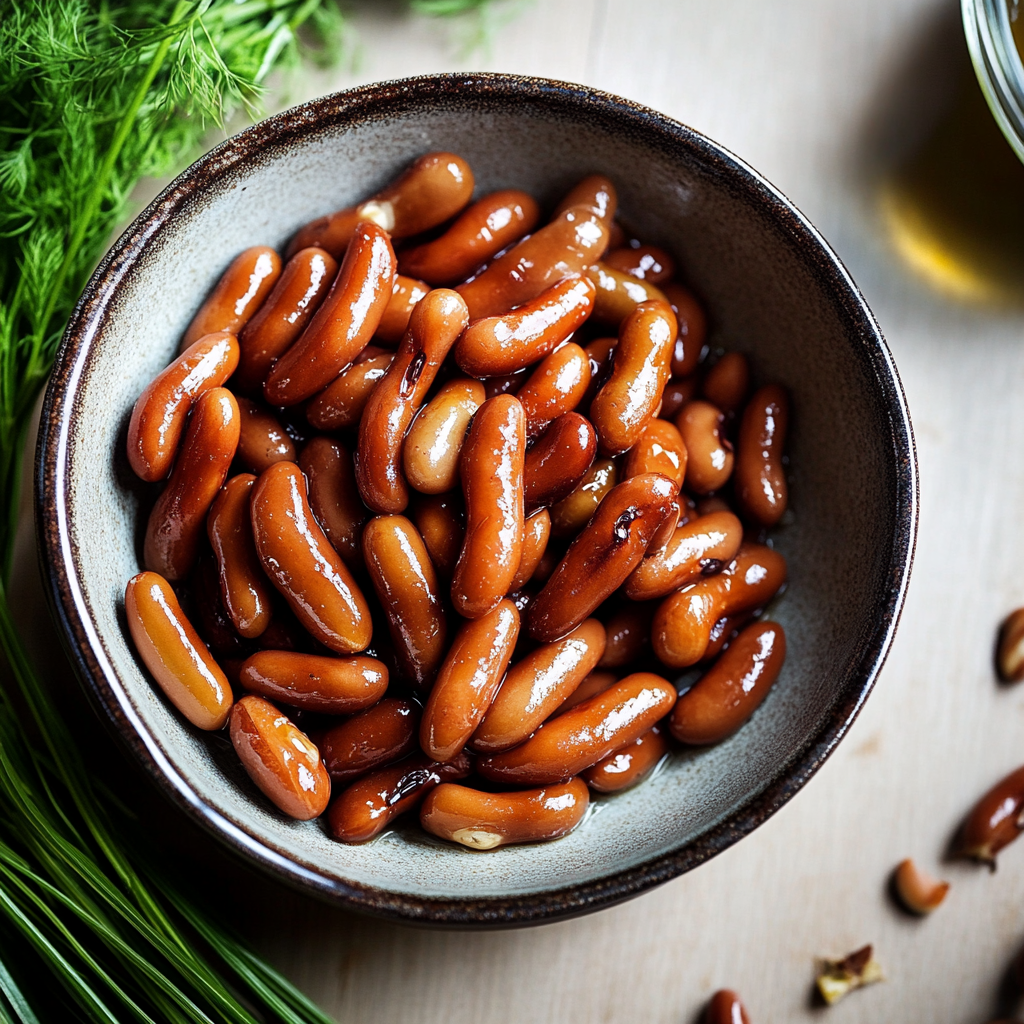
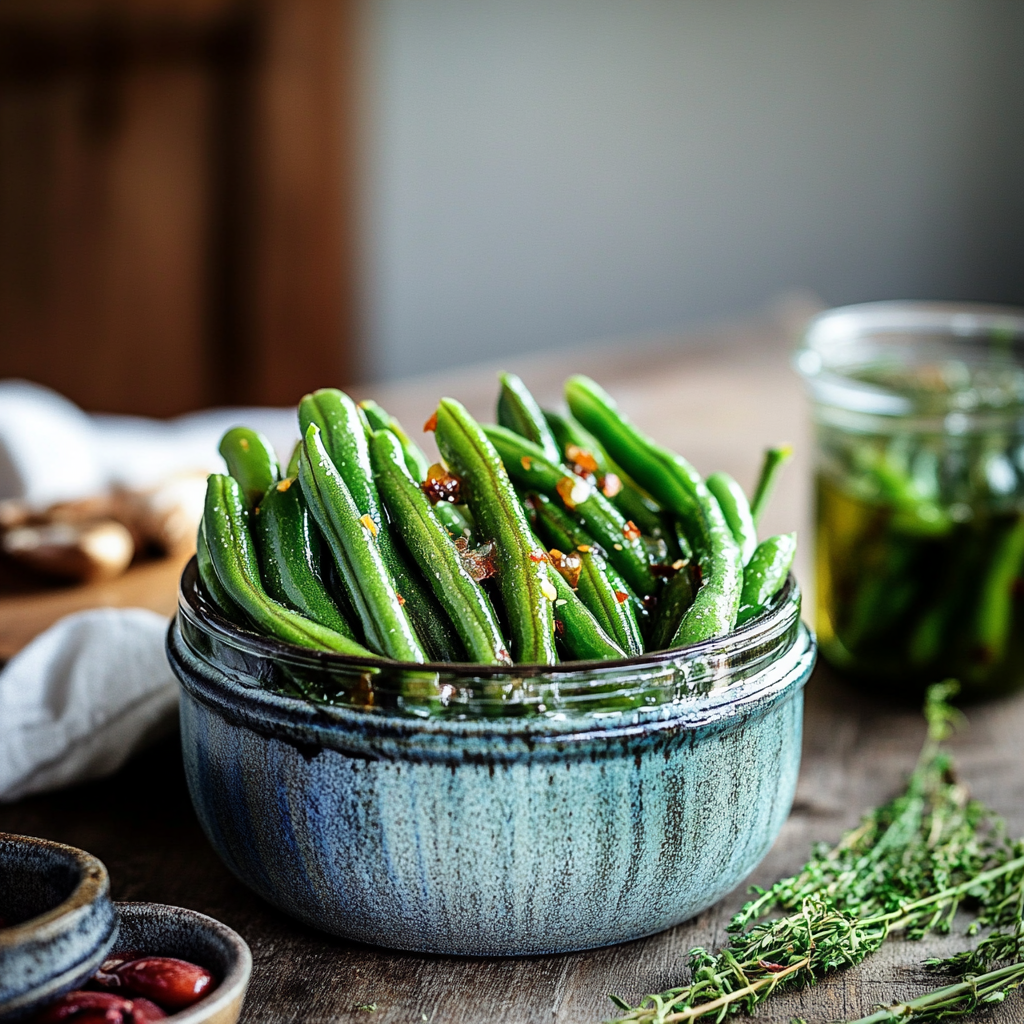
Dilly beans are a delightful pickled treat that could make even the most mundane meal feel like a picnic in the park. Crunchy, tangy, and brimming with flavors that dance on your taste buds, these little green wonders are not just for summer barbecues. Imagine biting into one of these crisp beauties, and the explosion of dill, garlic, and just the right amount of vinegar tickles your palate while your eyes roll back in pure joy. Yes, my friends, this is what you call culinary bliss.
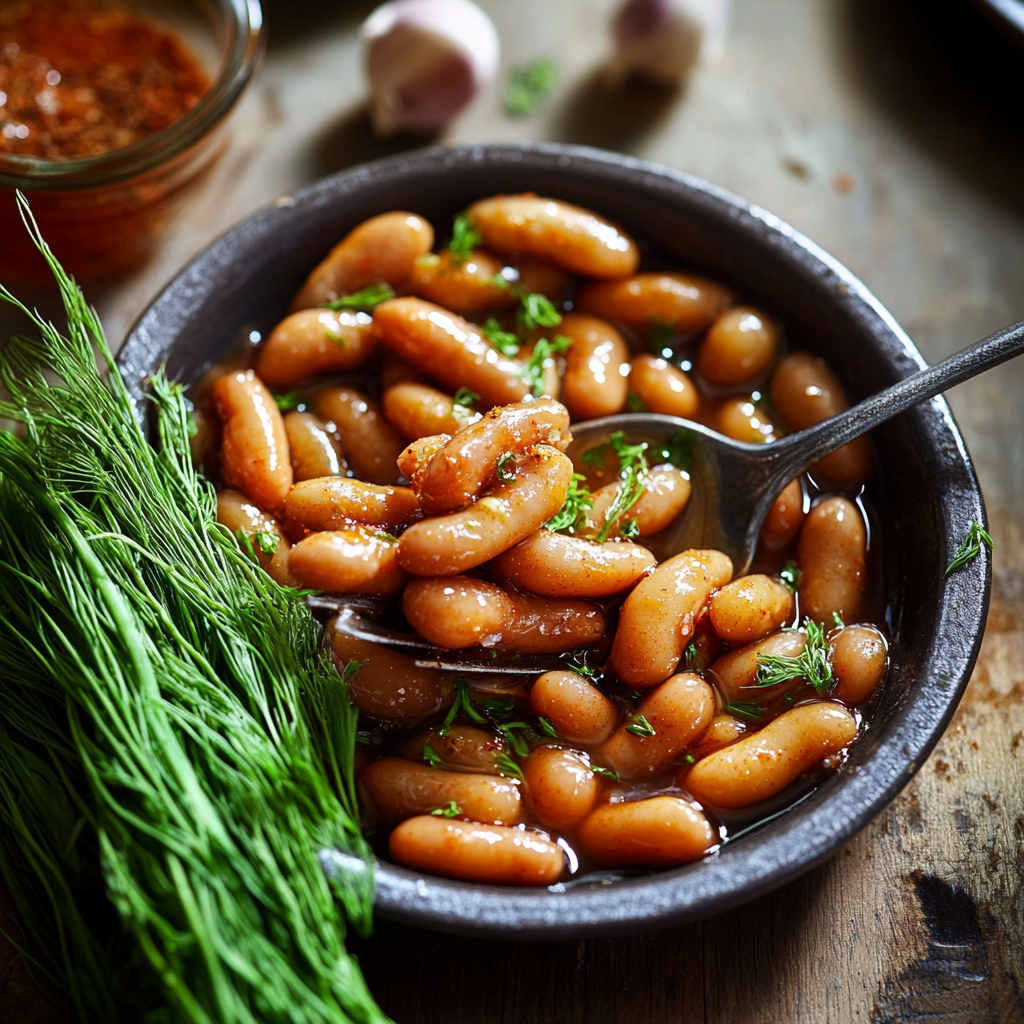
Every time I whip up a batch of dilly beans, I am transported back to my grandmother’s kitchen, where she would can jars of colorful veggies each summer. The clinking of glass jars and the aromatic wafts of vinegar fill my heart with nostalgia. Whether served as a zesty snack or added to a charcuterie board, these beans bring people together. Trust me; you’ll want to make these for any occasion that calls for a burst of flavor!
Why You'll Love This Recipe
- Dilly beans are incredibly easy to prepare and require minimal ingredients
- Their vibrant colors will brighten any dish they accompany
- They offer a deliciously tangy crunch that’s perfect for snacking or as a side dish
- These pickled beans are versatile—great on charcuterie boards or paired with sandwiches!
I remember the first time I served dilly beans at a family gathering—my cousin took one bite and declared it was love at first crunch!
Essential Ingredients
Here’s what you’ll need to make this delicious dish:
-
Fresh Green Beans: Look for firm, vibrant green beans; they should snap easily when bent.
-
White Vinegar: Use distilled white vinegar for its sharp flavor, which perfectly complements the beans.
-
Garlic Cloves: Fresh garlic adds pungency; don’t skimp! Use whole cloves for best results.
-
Dill Sprigs: Fresh dill brings an aromatic punch; choose bright green sprigs for maximum flavor.
-
Red Pepper Flakes: For those who like it spicy—a pinch adds an exciting kick!
-
Sugar: Just a hint balances out the acidity from the vinegar beautifully.
-
Salt: Pickling salt is ideal as it dissolves easily without clouding the brine.
-
Water: Tap water works fine; just ensure it’s cold and clean for making your brine.
The full ingredients list, including measurements, is provided in the recipe card directly below.
Let’s Make it Together
Prep Your Beans: Start by washing your fresh green beans thoroughly under cold water. Trim both ends using kitchen scissors or knife to keep them neat and tidy.
Create Your Brine: In a saucepan over medium heat, combine water, white vinegar, salt, sugar, and red pepper flakes. Stir until everything dissolves completely; let it simmer gently for about 5 minutes.
Add Aromatics: Remove your saucepan from heat and toss in minced garlic and fresh dill sprigs. Allow this flavor bomb to steep while you get those jars ready.
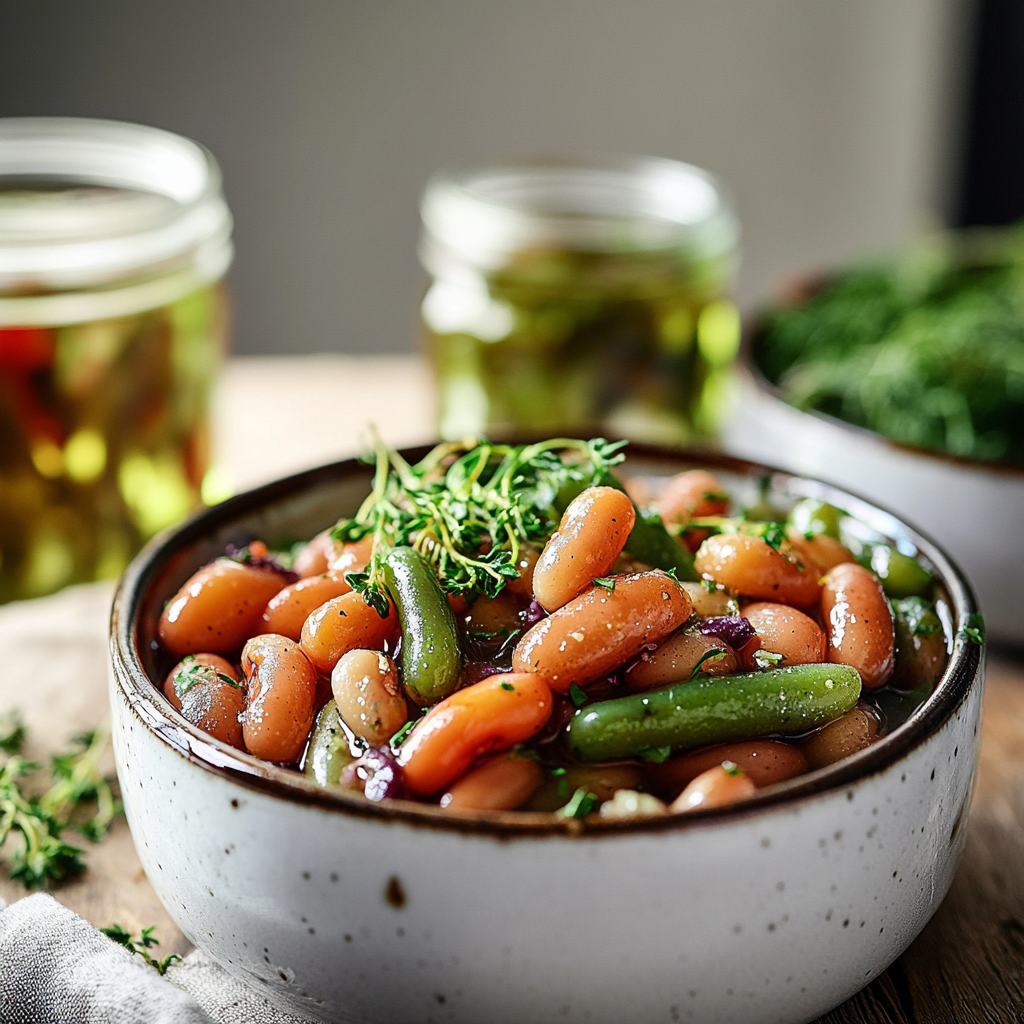
Pack Jars Tight: Next up—grab some clean canning jars! Pack those trimmed green beans vertically into each jar until they’re snug but not squished.
Pour Over Brine: Carefully ladle the hot brine over the packed green beans in each jar until they’re fully submerged. Leave about half an inch of headspace at the top.
Seal Them Up!: Wipe the rims of your jars with a clean cloth to remove any residue before sealing them tightly with lids. Now give them a good shake to mix up those flavors!
Now you have your very own batch of dilly beans ready to pickle away! Remember to store them in the fridge for about 1 week before diving in—the longer they sit, the more flavorful they’ll become!
Enjoy these crunchy delights on their own or as part of a stunning antipasti platter that’ll have everyone asking for more!
You Must Know
- Dilly beans are more than just a side dish; they add a zesty crunch to your meals
- Their vibrant color and tangy flavor can elevate any table setting
- Perfect for picnics, they are a fun addition to summer barbecues and family gatherings
Perfecting the Cooking Process
Start by blanching the beans for 3-4 minutes before packing them into jars. This keeps them crisp and vibrant. Prepare your brine while they cool for optimal flavor absorption.
Add Your Touch
Feel free to swap traditional spices with your favorites; dill can dance with mustard seeds or even red pepper flakes. Customizing flavors makes each batch uniquely yours.
Storing & Reheating
Store dilly beans in a cool, dark place for up to a year after canning. Once opened, refrigerate and consume within two weeks to maintain their crunchiness.
Chef's Helpful Tips
- For perfectly crispy dilly beans, ensure you use fresh beans without blemishes or soft spots
- Properly sterilize jars before canning to avoid contamination and spoilage
- Experiment with different herbs like thyme or bay leaves for unique flavor profiles that surprise your taste buds
Sometimes I think about the first time I made dilly beans; my friends devoured them at a picnic, asking for the recipe like it was top secret!
FAQ
What type of beans should I use for dilly beans?
Use fresh green beans, preferably snap or string beans, for the best texture.
How long do dilly beans last once canned?
Properly canned dilly beans can last up to one year on the shelf.
Can I adjust the spice level in my dilly beans?
Absolutely! Add more or less red pepper flakes according to your spice preference.
Dilly Beans

Dilly beans are a vibrant, pickled delight that transforms any dish into a flavor-packed experience. With their crunchy texture and zesty notes of dill and garlic, these tangy green beans make an ideal snack or addition to your charcuterie board. Easy to prepare and bursting with flavor, they’re perfect for summer barbecues or family gatherings. Dive into this recipe and create a batch that will have everyone begging for seconds!
- Prep Time: 15 minutes
- Cook Time: 10 minutes
- Total Time: 25 minutes
- Yield: Approximately 4 servings 1x
- Category: Snack
- Method: Pickling
- Cuisine: American
Ingredients
- 1 pound fresh green beans, trimmed
- 1 cup distilled white vinegar
- 3 cloves garlic, minced
- 4 sprigs fresh dill
- 1 teaspoon red pepper flakes (optional)
- 2 tablespoons sugar
- 1 tablespoon pickling salt
- 1 cup cold water
Instructions
- Wash and trim the green beans.
- In a saucepan over medium heat, combine vinegar, water, salt, sugar, and red pepper flakes. Stir until dissolved and simmer for 5 minutes.
- Remove from heat; add minced garlic and dill.
- Pack green beans vertically into sterilized jars.
- Pour hot brine over beans until submerged, leaving ½ inch headspace.
- Seal jars tightly and let sit in the fridge for at least one week before enjoying.
Nutrition
- Serving Size: ¼ cup (60g)
- Calories: 25
- Sugar: 2g
- Sodium: 370mg
- Fat: 0g
- Saturated Fat: 0g
- Unsaturated Fat: 0g
- Trans Fat: 0g
- Carbohydrates: 6g
- Fiber: 2g
- Protein: 1g
- Cholesterol: 0mg
